
 PKR
PKR 
Have you ever wondered how your domain connects to your website, email, or other online services? The answer lies in DNS (Domain Name System)—the system that translates user-friendly domain names (like example.com) into the IP addresses computers use to find each other.
With the cPanel Zone Editor, you can manage DNS records effortlessly. Whether you’re adding, editing, or resetting records, this tool puts everything you need at your fingertips.
Why is DNS So Important?
DNS is the backbone of the internet. It acts as a translator between domain names and IP addresses, making online navigation seamless. Here’s why it matters:
- It connects your domain to your website’s server.
- It ensures emails are routed to the right mail servers.
- It enables third-party services like Google Workspace or security features like SPF and DKIM.
Without DNS, your domain would be like a phone number without a contact name—hard to use and easy to lose.
What is the cPanel Zone Editor?
The Zone Editor in cPanel is a user-friendly tool that allows you to manage your DNS settings. It’s perfect for tasks like:
- Adding records for domain verification (TXT records).
- Redirecting subdomains (CNAME records).
- Pointing domains to IP addresses (A records).
- Resetting DNS to its default state if needed.
Learn more: What is cPanel and How to Use It? – A Beginner’s Guide
How to Use the cPanel Zone Editor
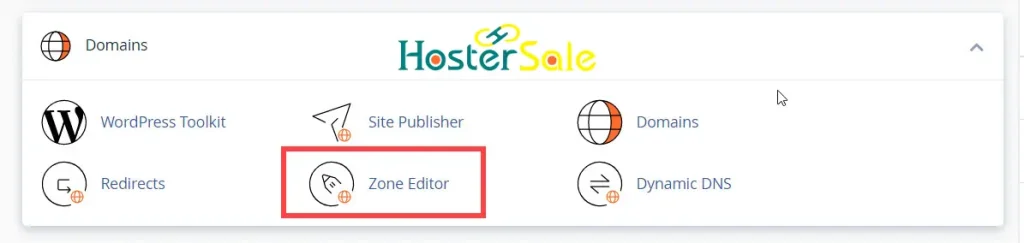
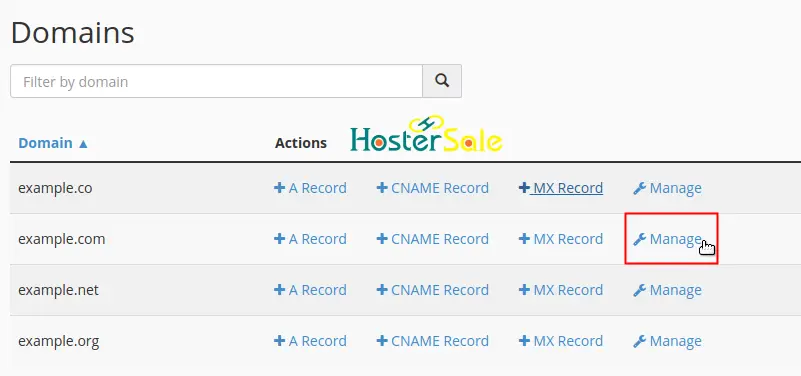
Step 1: Access the Zone Editor
- Log in to your cPanel account.
- Go to the Domains section and click Zone Editor.
- Choose the domain you want to manage.
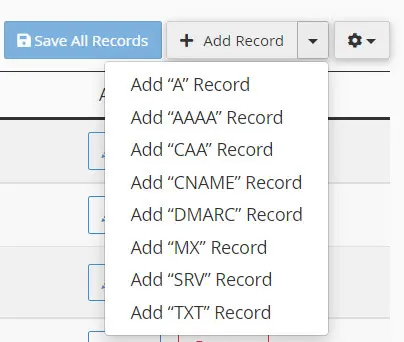
Step 2: Add a New Record
Adding records is essential for tasks like connecting your domain to a web server or verifying it with third-party services.
- Click + Add Record.
- Choose the record type (A, CNAME, TXT, etc.).
- Fill in the required details:
- Name: Enter your domain or subdomain (
@for the root domain). - TTL: Time to Live; use the default of
3600. - Value: The IP address, redirect URL, or verification code.
- Name: Enter your domain or subdomain (
- Click Save Record.
Example: Adding a TXT Record for Google Verification
To verify your domain with Google Workspace, follow these steps:
- Type: TXT
- Name:
@(for the root domain). - TTL:
3600 - Value:
google-site-verification=abc123xyz456(replace with your unique code).
After saving, return to Google Workspace and click Verify. The verification may take a few minutes to process.
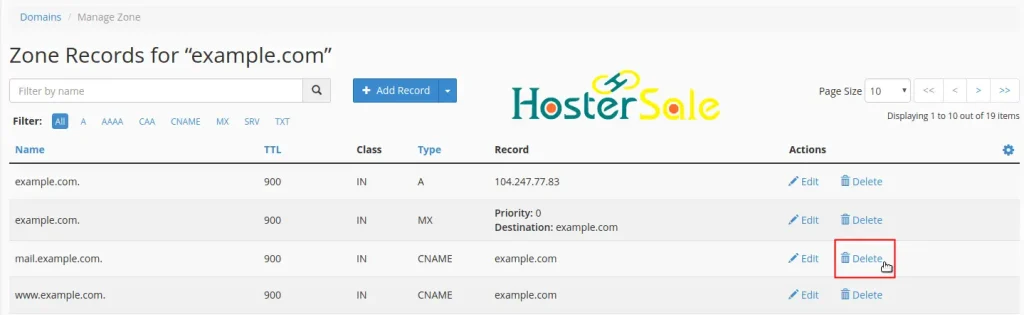
Step 3: Edit an Existing Record
Need to update a record? Here’s how:
- Find the record in the Zone Editor.
- Click Edit next to it.
- Update the necessary fields.
- Click Save Changes.
Step 4: Deleting a Record
- Locate the record you no longer need.
- Click the Delete button.
- Confirm the deletion.
Step 4: Reset DNS to Default

If you’ve made changes to your DNS and things aren’t working as expected, you can reset your DNS records to their default state.
- In the Zone Editor, click Manage next to the domain.
- Look for the option to Actions then click on Reset DNS Settings.
- Confirm the reset.
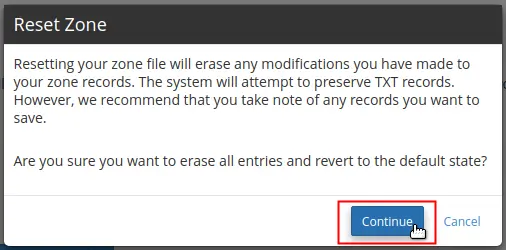
This will restore your DNS records to their original configuration, which is especially useful for troubleshooting.
Best Practices for Managing DNS Records
- Double-Check Entries: Errors in IP addresses or values can cause downtime or service disruptions.
- Understand DNS Propagation: Changes may take up to 24 hours to reflect globally.
- Backup Your Records: Always note down current records before making changes.
- Use Default TTL: The standard TTL of
3600works well for most setups.
Why Choose HosterSale for Your DNS Management?
At HosterSale, we understand the importance of seamless DNS management. That’s why our hosting services come with a user-friendly cPanel interface and robust tools like the Zone Editor.
Here’s what makes HosterSale stand out:
- Free SSL Certificates for secure browsing.
- Daily Backups to protect your data.
- 99.9% Uptime Guarantee to keep your website running smoothly.
- 24/7 Expert Support to assist with DNS and more.
Learn more: What is HosterSale? A Complete Guide to Its Hosting Plans and Features
Wrapping It Up
The cPanel Zone Editor is your go-to tool for managing DNS records efficiently. Whether you’re verifying your domain with Google, pointing it to a new server, or resetting DNS to troubleshoot issues, the Zone Editor makes it easy.
With DNS being such a critical part of your online presence, it’s essential to handle it with care. If you’re looking for a hosting provider that simplifies DNS and offers world-class support, choose HosterSale today!